Pre-Season Camper Prep for a Pacific Northwest Summer Adventure

There’s a particular kind of optimism that hits every Pacific Northwest camper around late March. The days are getting longer, Mount Rainier is peeking through the clouds, and the campsite reservation window is cracking open. But before you hitch up and head toward the Nisqually River or a South Sound trailhead, there’s one thing standing between you and a seamless season: your camper has been sitting through a Western Washington winter, and it’s time to find out what that actually costs you.
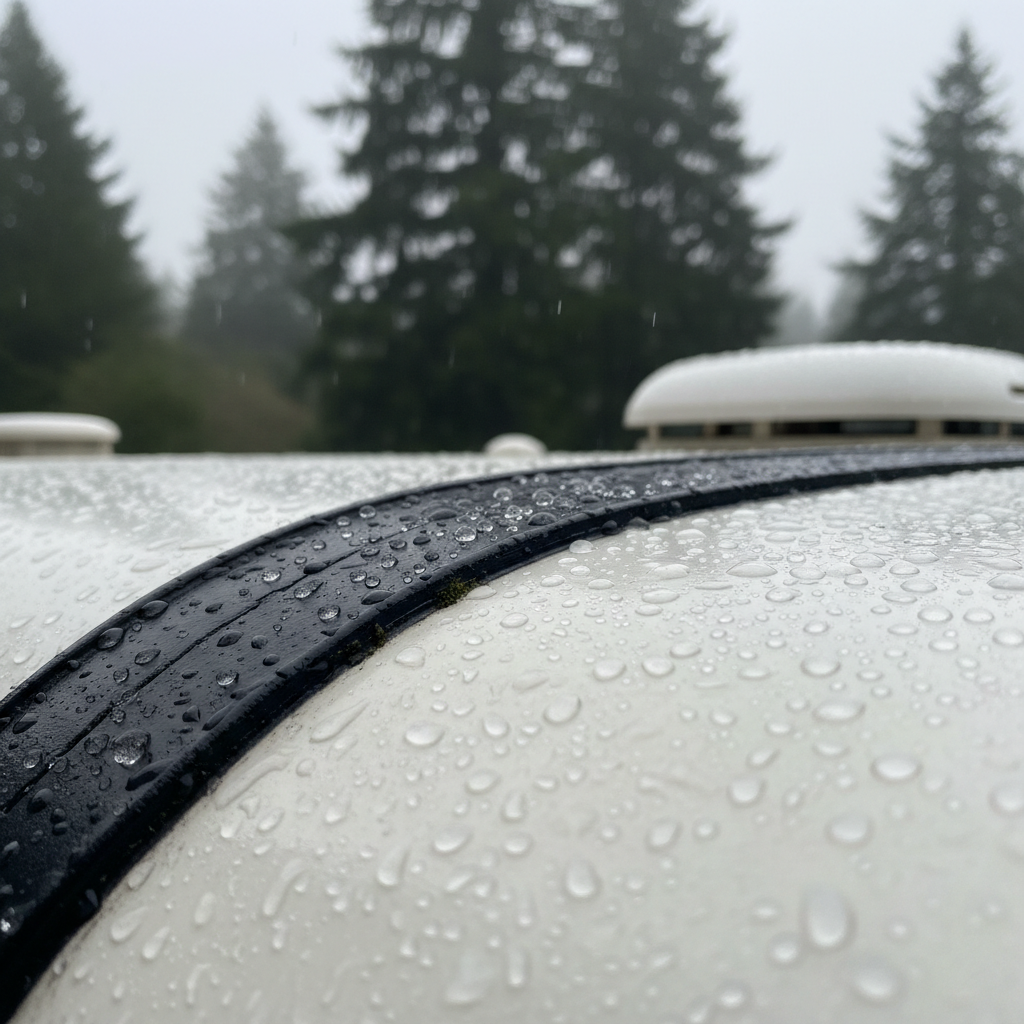
The PNW is an extraordinary place to adventure, but it’s a genuinely harsh environment for stored vehicles. Months of persistent rain, freeze-thaw cycles, and near-constant humidity don’t just inconvenience campers; they quietly degrade seals, drain batteries, invite mold, and create repair bills that feel like they came out of nowhere. A thorough pre-season inspection isn’t optional here. It’s the difference between a weekend that runs smoothly and one that starts with a roadside discovery you really didn’t want to make.
This guide walks you through everything: how Washington winters damage your rig, a practical pre-season camper checklist you can complete in an afternoon, smart strategies for storing outdoor gear in the PNW, and how to navigate HOA parking rules so your summer stays stress-free from the start.
Why Pacific Northwest Winters Are Hard on Your Camper
Western Washington doesn’t deliver the dramatic blizzards you’d see in colder inland climates, but don’t mistake mild temperatures for a gentle off-season. The combination of sustained moisture, frequent freeze-thaw cycles, and near-100% humidity creates conditions that accelerate wear on nearly every system in your camper. Seals crack. Interiors grow mold. Batteries discharge completely. And rodents, seeking warmth and shelter, find their way into rigs stored in driveways and lots throughout Yelm, Puyallup, and the greater Tacoma area.
Campers stored in Western Washington face a meaningfully different set of challenges than those kept in Eastern Washington’s drier, colder climate. In the Puget Sound region, it’s not the hard freeze that does the most damage; it’s the slow, relentless dampness that seeps through every small gap and never fully dries out. Roof seams that were fine in September start weeping moisture by February. Soft furnishings absorb ambient humidity until they smell like a wet tent. Tires lose pressure and develop sidewall stress from sitting unmoved on cold, wet pavement for months.
Here’s the realistic picture: a thorough pre-season inspection takes two to four hours, and it can save you hundreds of dollars in avoidable repairs. That’s not an exaggeration; catching a failing roof seal before your first trip out costs a tube of caulk and an afternoon. Catching it after two weekends of rain costs a full interior remediation. If you’re also working around limited garage space or HOA RV parking rules in Washington that restrict where your rig can sit, exploring intentional storage solutions before the busy season begins is worth every bit of planning effort.
Your Step-by-Step Pre-Season Inspection Checklist
Set aside a dry Saturday morning and work through this checklist systematically. Bring a flashlight, a notepad, and a healthy suspicion that something needs attention because after a PNW winter, something usually does.
Roof and Seals
Freeze-thaw cycles are relentless on caulking and roof seams, and water intrusion is the single most common (and expensive) source of damage in PNW campers. Get up on the roof and inspect every seam, vent cover, and caulked edge for cracking, lifting, or separation. Pay extra attention to the corners and anywhere a previous repair was made. Press gently on suspicious areas; soft spots below indicate moisture has already made it through.
Tires and Brakes
Cold weather deflates tires, and a camper that’s been stationary since fall may be sitting on underinflated rubber with stress cracks forming in the sidewalls. Check pressure against the manufacturer’s spec (not the max listed on the tire itself), and inspect each sidewall carefully for dry rot it appears as a network of fine surface cracks that signal the rubber is breaking down. Test your brake function before your first haul; brake components can seize or corrode over a wet winter with surprisingly little provocation.
Electrical and Battery
Your house battery has likely discharged significantly over the off-season, especially if it wasn’t connected to a maintenance charger. Recharge it fully and load-test it before assuming it’s serviceable. A battery that accepts a charge but drops voltage quickly under load needs to be replaced before you’re camping without power. Test every light, outlet, and 12-volt circuit, and inspect wiring runs in areas that might attract rodents: under the bed, inside cabinet bases, and around the water heater.
Plumbing and Water Systems
If you winterized properly, your lines are full of RV antifreeze that needs to be flushed completely before use. Run water through every faucet, the toilet, and the outdoor shower (if equipped) until the antifreeze taste and pink color are gone. While you’re at it, listen for the water pump. It should prime quickly and hold pressure without cycling repeatedly. Any pipes that may have frozen should be inspected for hairline cracks, which often don’t become obvious until water pressure is restored.
Interior Deep Clean
Even a well-sealed camper accumulates stale air, surface moisture, and the occasional surprise from wildlife over a long winter. Remove everything left from last season, wipe down all hard surfaces with a mold-inhibiting cleaner, and pull out cushions and soft furnishings to air them thoroughly before your first trip. A few hours of intentional cleaning now prevents the kind of odor and mildew problems that are genuinely hard to reverse once they’re established.
For more detailed guidance on getting your rig ready, these RV storage and maintenance tips cover additional preparation steps worth reviewing before the season kicks off.
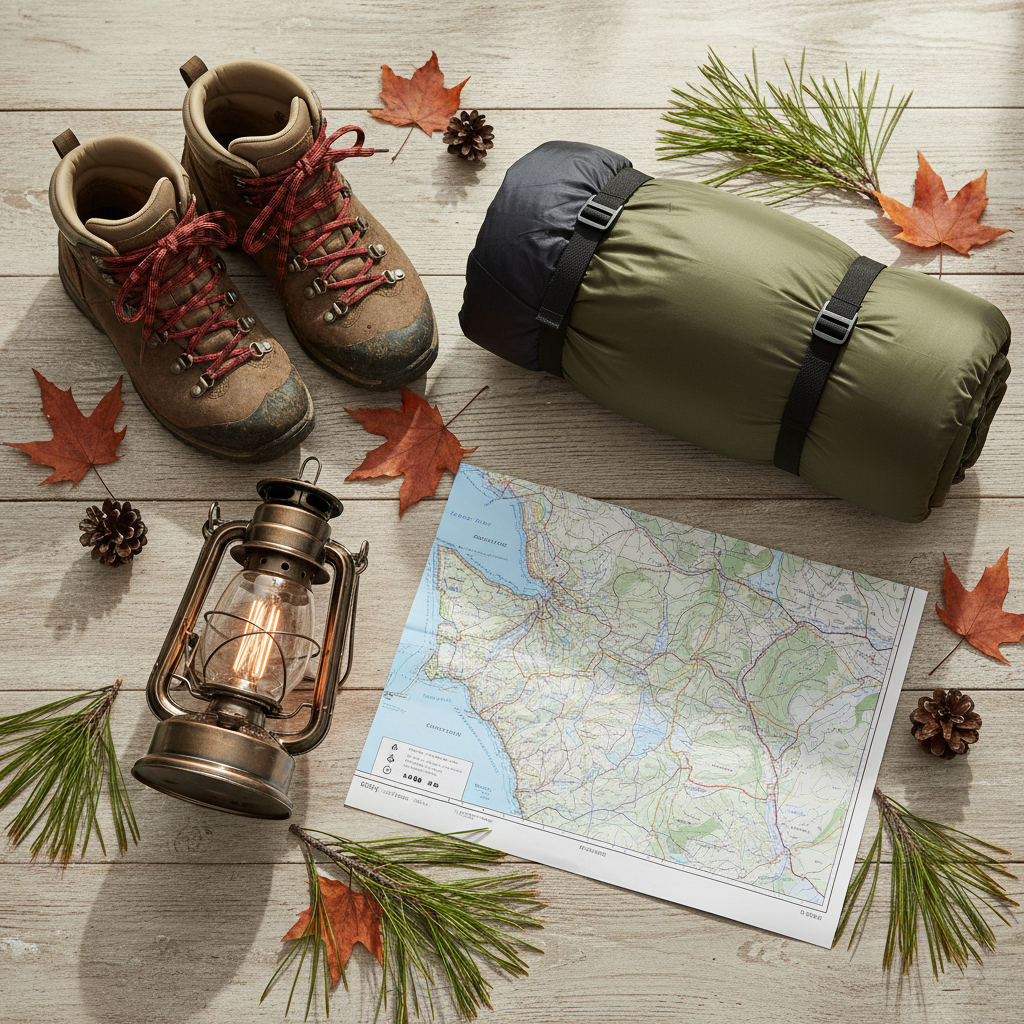
Storing Your Outdoor Gear the Smart Way Before You Hit the Road
Pre-season prep isn’t just about the camper itself; it’s also the right moment to audit everything that goes with it. Before you reload your rig with last year’s gear, take stock of what you actually used versus what just occupied space all season. That audit alone tends to free up surprising amounts of room and weight.
Storing outdoor gear in the PNW requires a different mindset than in drier climates. Sleeping bags, camp stoves, soft-sided coolers, and electronics all degrade faster when exposed to Washington’s damp off-season conditions. Climate-controlled or heated storage is genuinely worth considering for sensitive gear, not because it’s a luxury, but because replacing a high-quality sleeping bag or a camp stove that corroded over winter costs far more than a few months of protected storage.
When it comes to unit sizing, a practical framework helps:
- 5×10 unit: Handles kayaks, bikes, and a season’s worth of camping gear comfortably, a solid choice for active PNW adventurers who rotate between hiking, paddling, and camping. Check out 5×10 storage unit options if you need a compact, affordable solution for seasonal gear.
- 10×20 unit or larger: Better suited for a full camper with tow vehicle accessories, or for households storing multiple seasons of outdoor equipment simultaneously.
- Short-term storage: An ideal flexible option for PNW adventurers who rotate between skiing, hiking, and camping throughout the year. Store what you’re not currently using and swap in what you need.
Whatever unit size you choose, prioritize moisture barriers, breathable storage bags, and elevated shelving to protect your gear from humidity. Plastic totes with sealed lids beat cardboard boxes in the Pacific Northwest every single time. For a deeper dive into protecting your camping equipment through the off-season, this guide to storing camping gear during the off-season is worth bookmarking.
Navigating HOA Rules and Parking Logistics in Washington
For a significant portion of camper owners in the Puget Sound region, the logistics question isn’t just about storage, it’s about whether you’re even allowed to park your rig at home between trips. HOA RV parking rules in Washington vary by community, but many neighborhoods in Western Washington prohibit camper storage on driveways or streets for more than 24 to 72 hours. Some CC&Rs go further, banning any recreational vehicle visible from the street regardless of duration.
Before the season begins, pull out your HOA’s CC&Rs and review the language around recreational vehicle storage carefully. If the rules are ambiguous, contact your HOA board directly and request written clarification; verbal assurances don’t protect you from fines. Understanding your camper storage restrictions in Washington before you need to move the rig is far less stressful than scrambling for a solution the night before a Friday departure.
For homeowners facing parking restrictions, RV storage options in Yelm offer a practical, stress-free alternative. Yelm’s location is strategically excellent for South Sound adventurers: you’re within easy driving distance of Mount Rainier, the Nisqually River corridor, and dozens of trailheads that fill up on summer weekends. Keeping your rig at a local facility means you can grab it on Friday afternoon and be on the road before the traffic builds.
The peace of mind that comes with off-site storage is real and underrated. Your camper is secure, covered, and protected from the elements without the ongoing logistics of HOA negotiations or the risk of a fine landing in your mailbox. For additional context on navigating these restrictions in nearby communities, this guide to HOA RV parking restrictions in Graham, WA covers the regulatory landscape in helpful detail.
Get Your Camper Road-Ready Before Summer Weekends Fill Up
The campsite reservation market in Washington is genuinely competitive. Popular sites near Rainier, the Olympic Peninsula, and the Cascades fill weeks or months in advance. If your pre-season prep is still on the to-do list when June arrives, you’ve already missed the window for the best summer weekends. Scheduling your inspection and storage setup in April or early May puts you ahead of the rush and gives you time to address anything unexpected before it becomes urgent.
Here’s a simple action plan to close out your pre-season prep:
- Block out a prep day in April for roof inspection, tires, electrical, plumbing, and interior cleaning all in one go.
- Audit your gear and declutter anything you didn’t use last season before reloading the camper.
- Review your HOA rules and confirm your parking situation before the season begins.
- Secure your storage solution whether that’s a climate-controlled unit for gear, an RV storage spot near Yelm or Puyallup, or both.
- Book your first trip while the good sites are still available.
Local storage near Yelm, Tacoma, or Puyallup means spontaneous weekend trips are always within reach, with no advance logistics required. Your best PNW summer starts with a plan, and the right storage partner makes that plan seamless from the first sunny weekend through the last fall camping trip of the year. Explore heated storage options that protect your camper and gear through every season Washington throws at you, because protecting your investment now means more time on the road when it matters most.