How To Store Electronics in a Self Storage Unit Without Damaging Them

Tech workers moving between apartments, Seattle-area renters downsizing into a studio, and students at the University of Washington Tacoma clearing out between leases all tend to run into the same problem. Electronics pile up fast, and Seattle’s compact urban apartments leave almost nowhere to put them. Knowing how to store electronics properly before they go into a unit can be the difference between pulling out a working monitor six months later and pulling out a cracked, corroded one. Let Daffodil Storage help you uncover what actually matters.
The Biggest Misconception About Storing Electronics
A lot of people assume that putting electronics in a storage unit is essentially the same as sliding them under a bed or stacking them in a closet. It isn’t. An unheated unit can swing through wide temperature ranges across a Seattle winter and summer, and those swings are hard on circuit boards, screens, and battery cells. The fix isn’t complicated, but it does require a few deliberate steps before you load anything in.
Start With a Heated Unit
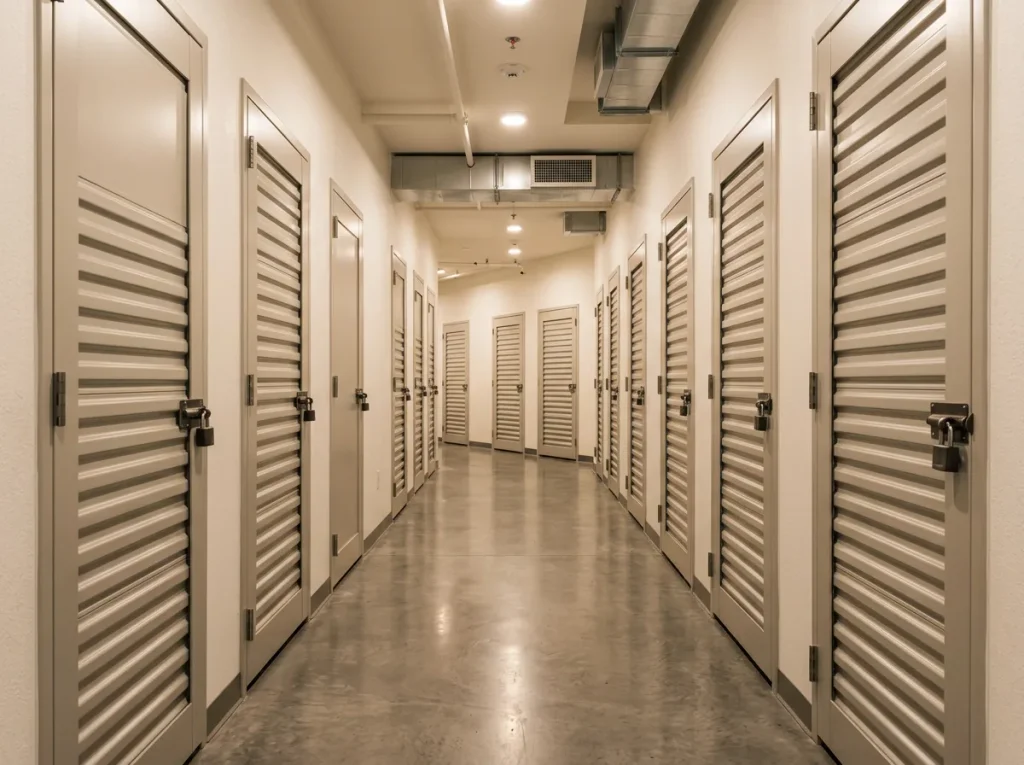
This is the single most important decision you’ll make. A heated storage unit maintains a consistent temperature range year-round, which reduces the risk of condensation forming on internal components when temperatures drop. Electronics are particularly vulnerable to repeated temperature swings because solder joints can weaken, LCD panels can develop dead spots, and battery capacity can degrade faster than it would in a stable environment.
For anyone storing a desktop computer, a flatscreen TV, audio equipment, or a gaming console for more than a few weeks, a heated unit is the right call.
Clean Everything Before It Goes In
Dust and debris trapped inside a device during storage can work their way deeper into vents and ports over time. Before packing anything, wipe down external surfaces with a dry microfiber cloth. For keyboards, use compressed air to clear out crumbs and dust. For monitors and screens, a dry screen-safe cloth is enough, though you should avoid any liquid cleaners, which can leave residue that attracts more dust.
This step takes ten minutes and prevents a lot of headaches when you retrieve your gear.
Use Original Packaging When You Can
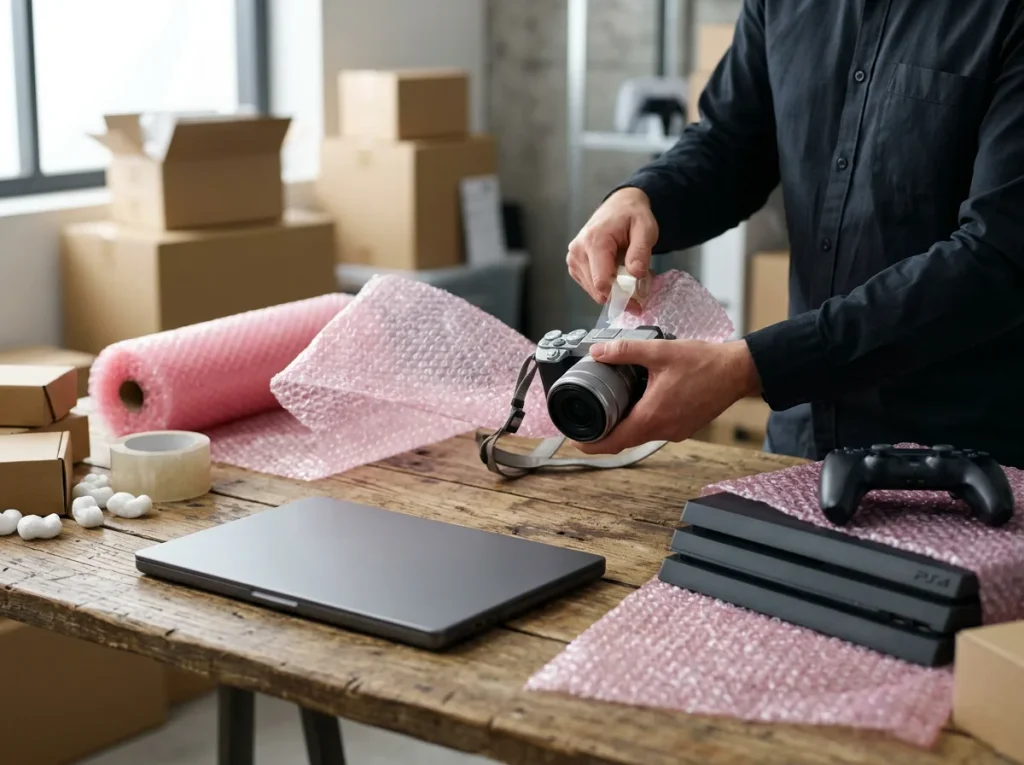
Manufacturers design original boxes with custom foam inserts that hold a device at the right angles and absorb impact. If you kept the box your laptop or monitor came in, use it. If you didn’t, wrap the device in anti-static Bubble Wrap, not standard Bubble Wrap, which can generate a static charge that damages components. Anti-static versions are available at most shipping supply stores and are worth the minor extra cost.
For televisions specifically, stand them upright in their box or wrapped upright against a wall. Laying a flatscreen on its side puts pressure on the panel and can cause cracking or internal damage over time.
Handle Cables and Batteries Separately
Cables coiled tightly and stuffed into boxes develop kinks that can damage the wiring inside the sheath. Loosely coil each cable, secure it with a Velcro tie, and label it. Storing cables in clearly marked bags inside the same box as the device they belong to keeps things organized when you unpack.
Batteries are a separate concern. Lithium-ion batteries, like those found in laptops, tablets, and cameras, should not be stored at full charge or completely drained. Aim for roughly 50 percent charge before storing. Fully charged or fully depleted lithium-ion cells degrade faster in storage, and in rare cases, a fully charged cell left for months can swell. Remove batteries from devices entirely when possible and store them in a cool, dry container inside your unit.
Think About How You Stack and Organize
Electronics should never go on the floor of a unit. Even in a well-maintained heated unit, placing boxes directly on concrete puts them at the lowest point in the space, where temperature fluctuations are most pronounced. Use shelving, pallets, or at minimum a layer of cardboard to lift boxes off the ground.
Heavier items, including desktop towers, monitors, and audio receivers, go on the bottom of stacks. Lighter, more fragile items like tablets or cameras go on top. Don’t stack anything heavy on top of a screen. If you’re planning to access your unit regularly, leave a clear path to your electronics rather than burying them behind furniture. Our article covering the steps to organizing a storage unit you can actually navigate has practical layout advice that applies directly here.
Choosing the Right Unit Size
For a Tacoma renter storing a few boxes of electronics alongside some seasonal gear, a 5×10 storage unit typically handles the load without paying for space you won’t use. If you’re combining electronics with furniture during a move or renovation, a larger unit gives you room to shelve and organize properly rather than cramming boxes in. Use our unit size guide to match your inventory to the right footprint before you rent.
A Few Items That Need Extra Attention
Vinyl Records and Audio Equipment
Vinyl warps under heat and pressure. Store records vertically, never stacked flat, and keep them in a heated unit away from any wall that might absorb exterior temperature swings. Amplifiers and receivers should be packed with their original foam or wrapped in moving blankets, with no weight placed on top of them.
Cameras and Lenses
Camera bodies and lenses are sensitive to temperature changes and should be stored in their cases with silica gel packets to absorb any residual condensation. Remove batteries from camera bodies before storage. Keep lenses capped on both ends.
Gaming Consoles
Pack consoles in anti-static wrap and store them upright when possible. Avoid placing them in airtight containers; having some airflow around the packaging helps prevent condensation from building up inside the box over long storage periods.
Finding the Right Storage Location
Proximity matters more than people expect. A unit that’s genuinely close to your apartment gets used the way it should, as a practical extension of your living space, not a distant warehouse you visit twice a year. Daffodil Storage has storage locations across the region with heated units built for this kind of use. Whether it’s tech gear that doesn’t fit in a 600-square-foot apartment, equipment you’re holding between moves, or a monitor that needs a temporary home during a renovation, heated storage keeps all of it in working condition until you’re ready to bring it back. Find your unit with Daffodil Storage today.